
How to Plan Fence Corners, Ends, and Terminal Posts
Mark each turn, end, and gate before counting posts, so one shared corner does not become two accidental posts.
By Fence Planner · 1 min read · Updated 2026-07-20
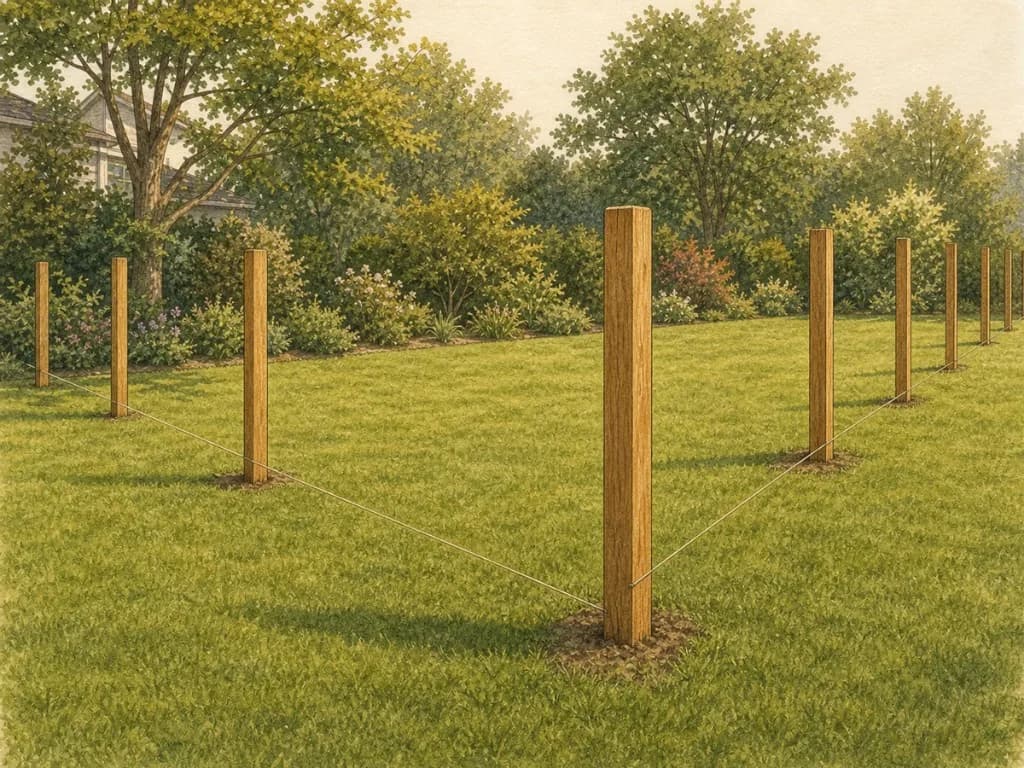
The short answer
When the fence turns a corner, both directions usually share one post at that turn. Start by marking the unique places where the fence begins, ends, turns, or opens for a gate.
Why it matters
Counting every line separately can make you buy and dig for duplicate posts. It also hides the places that may need a stronger product-specific assembly.
Do this first
- Draw every fence line until it touches the next one.
- Circle each open end, corner, and side of a gate once.
- Check whether the fence ends near a house, shed, driveway, or another obstacle.
- Choose the fence system before deciding what hardware or bracing a corner needs.
Use Fence Planner for this part
The planner uses the connected layout to avoid counting one corner twice. Review the marked points before treating the material list as final.
How the estimate works
The planner looks at the whole connected layout and counts each unique post location once. A corner shared by two sides is one post. Gate openings, open ends, and places near a house or structure are marked as their own kinds of points so the shopping list does not invent extras.
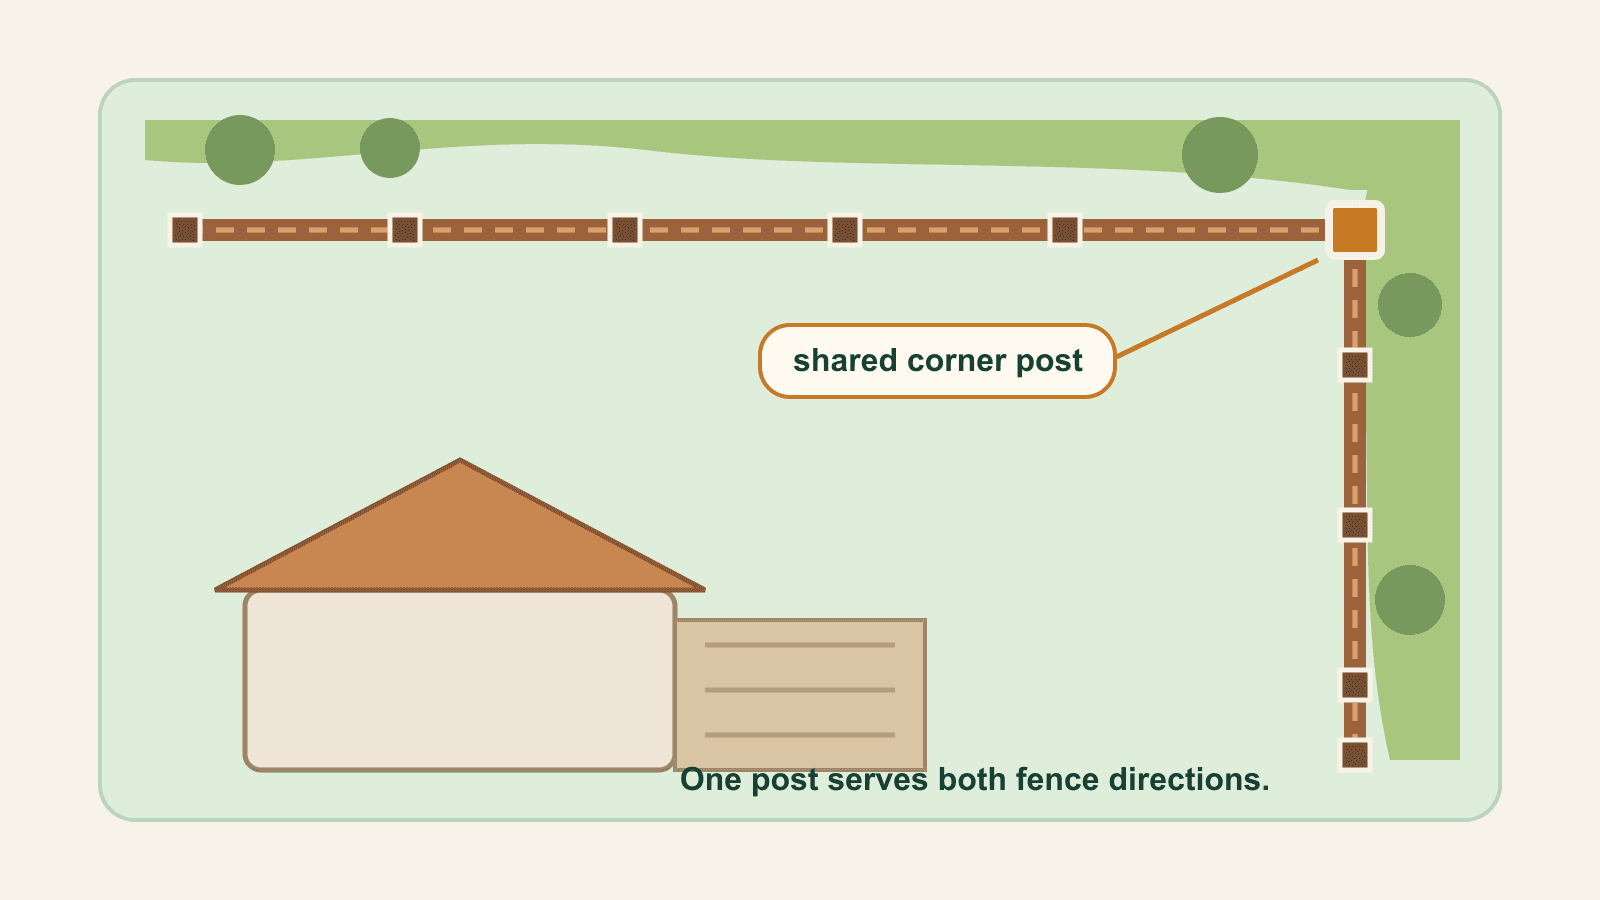
Open this U-shaped yard exampleYou will be asked to confirm before anything replaces your current plan.
Educational planning content only. Not a substitute for local codes, surveys, engineering, or professional advice. See Methodology for how this guide was prepared and how the calculator works.